Boba Chronicles Pt. I - SVGs
Fri, Jul 10, 2020
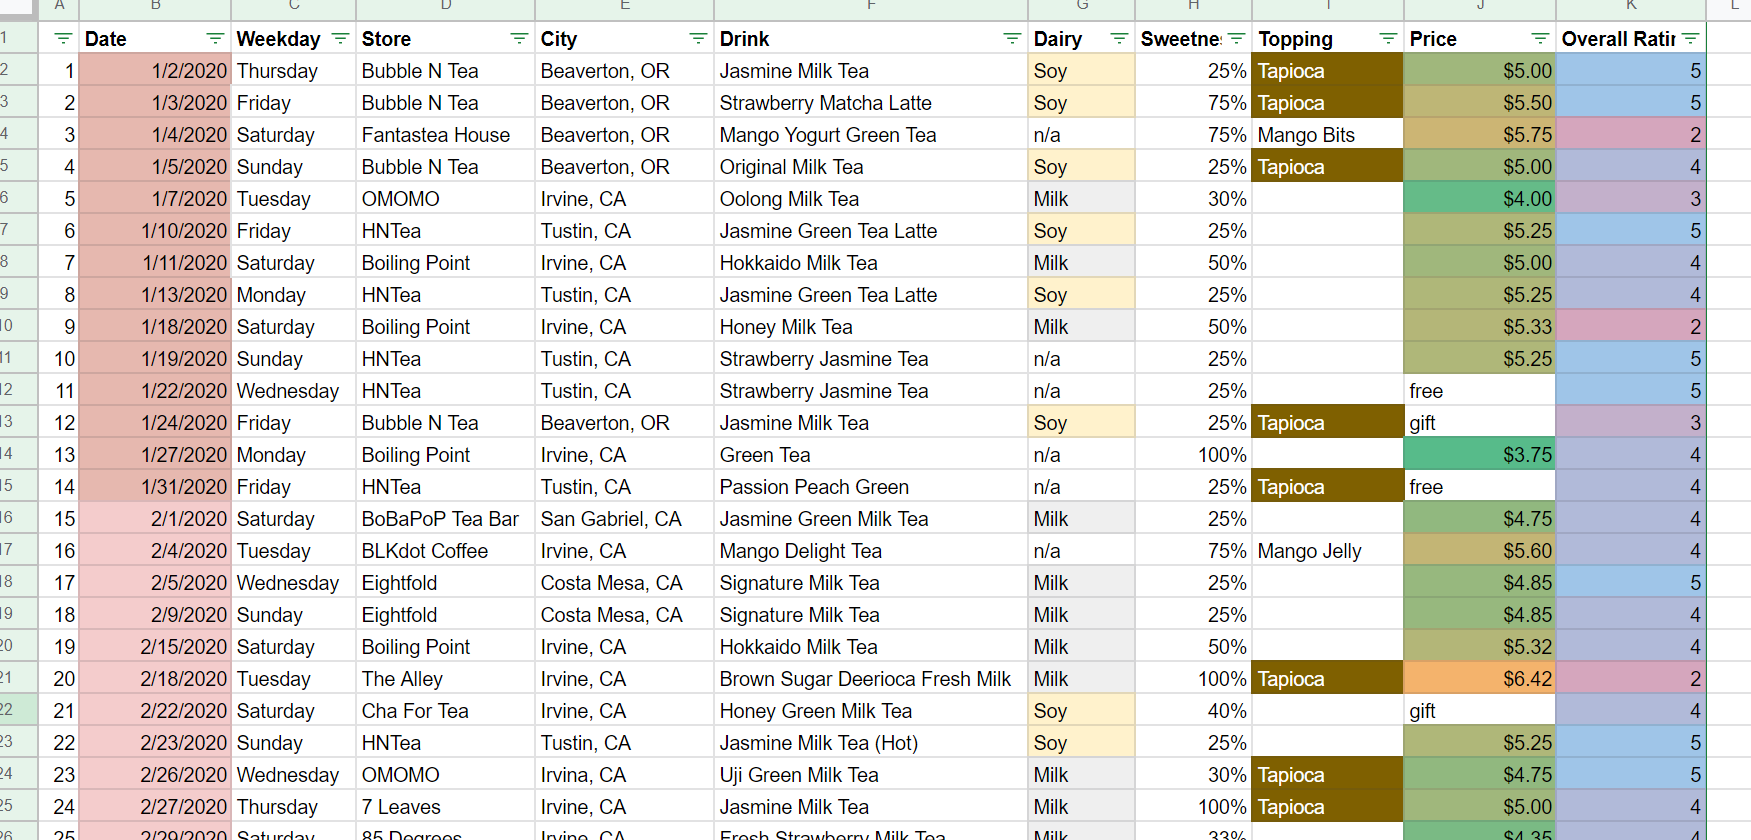
For the past half year I've been tracking my bubble tea consumption. Is it to shame myself into drinking less boba? Maybe. Is this madness? Probably. It's been an interesting exercise, at the very least, and is one that I'm likely to continue into the future.
The tracking was done in a Google Sheets. While Sheets allows me to do nifty things like column sums for amount spent and conditional cell fill colours, it's lacking in some other areas. The Sheets mobile app is awkward to use on the go, which is when I want to make new entries. Also, after a few months I had enough data to want to make some more interesting analyses about my boba habits.
Since I am conveniently in between jobs and have time for a side project... I'm going to make an app (or begin making one) where I can track my boba consumption and look at all the data in a pretty and meaningful way.
Let's break it down
There will be many components to this project: new boba entry submission form, different visualizations, and the backend (??? how does one web ???).
- Ease of use
- Must be mobile friendly
- Can I still use Google Sheets as my database?
- Infographics to answer some interesting questions:
- What was the longest boba streak?
- What was the longest dry spell?
- Which day of the week am I more likely to get boba?
- Pretty visuals
- Customizable build a boba submission form
- You should be able to select 'mango jelly' and see mango jelly pieces in your cup. Selecting 'pearls' should replace the mango jelly with pearls.
- Animated SVGs! Because pretty!!!
First, we draw
Pretty visuals is going to be a huge component of this for me. The idea is to have at least two main views: a build-a-boba page and a history page.
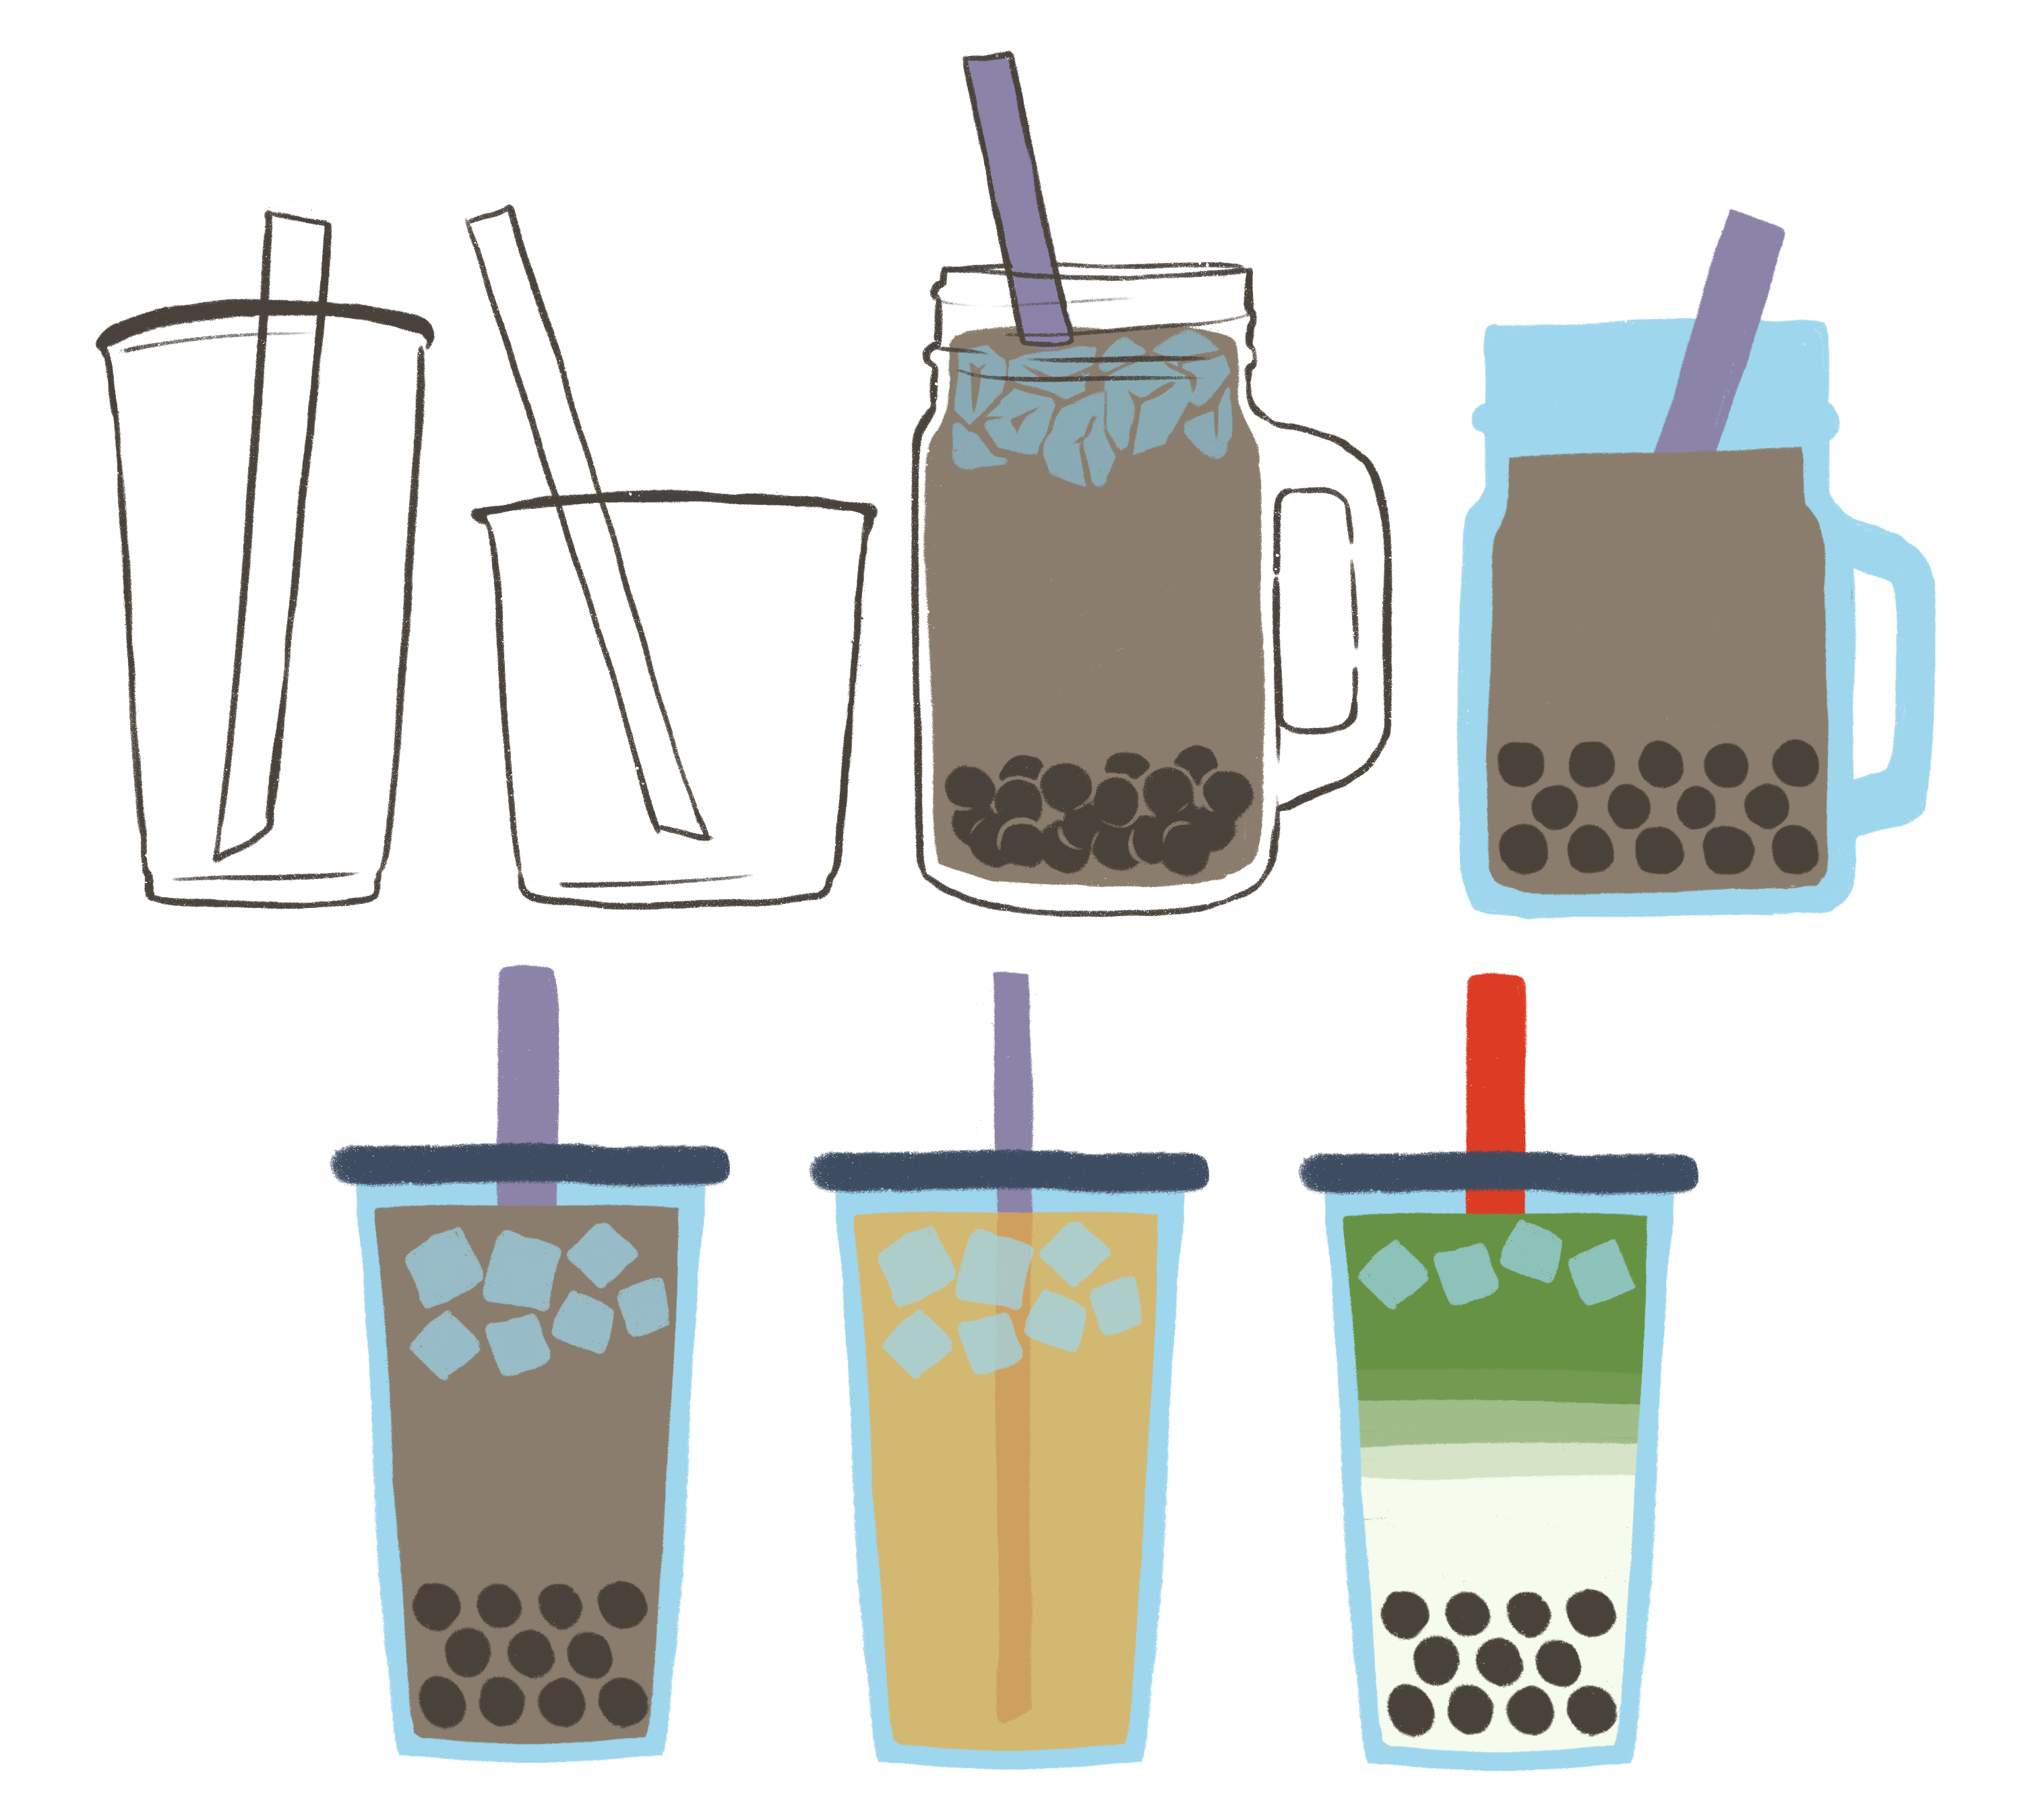
The build-a-boba page is going to be an interactive page with two panels. One will be a large rendering of a boba drink think you're trying to build, and the other will be a form with drop downs, sliders, etc. that can be used to customize the drink. I did a couple sketches to get a feel for what I might want the large drink to look like. While I'd love to have different cup types, simpler is better in this case, I think.
For the history page, I want to be able to see all my logged drinks I've had in the past year like a mosaic. These illustrations should be simpler. The focus should really be on overall impact rather than rendering individual drinks. To figure out what this might look like I made some more sketches.

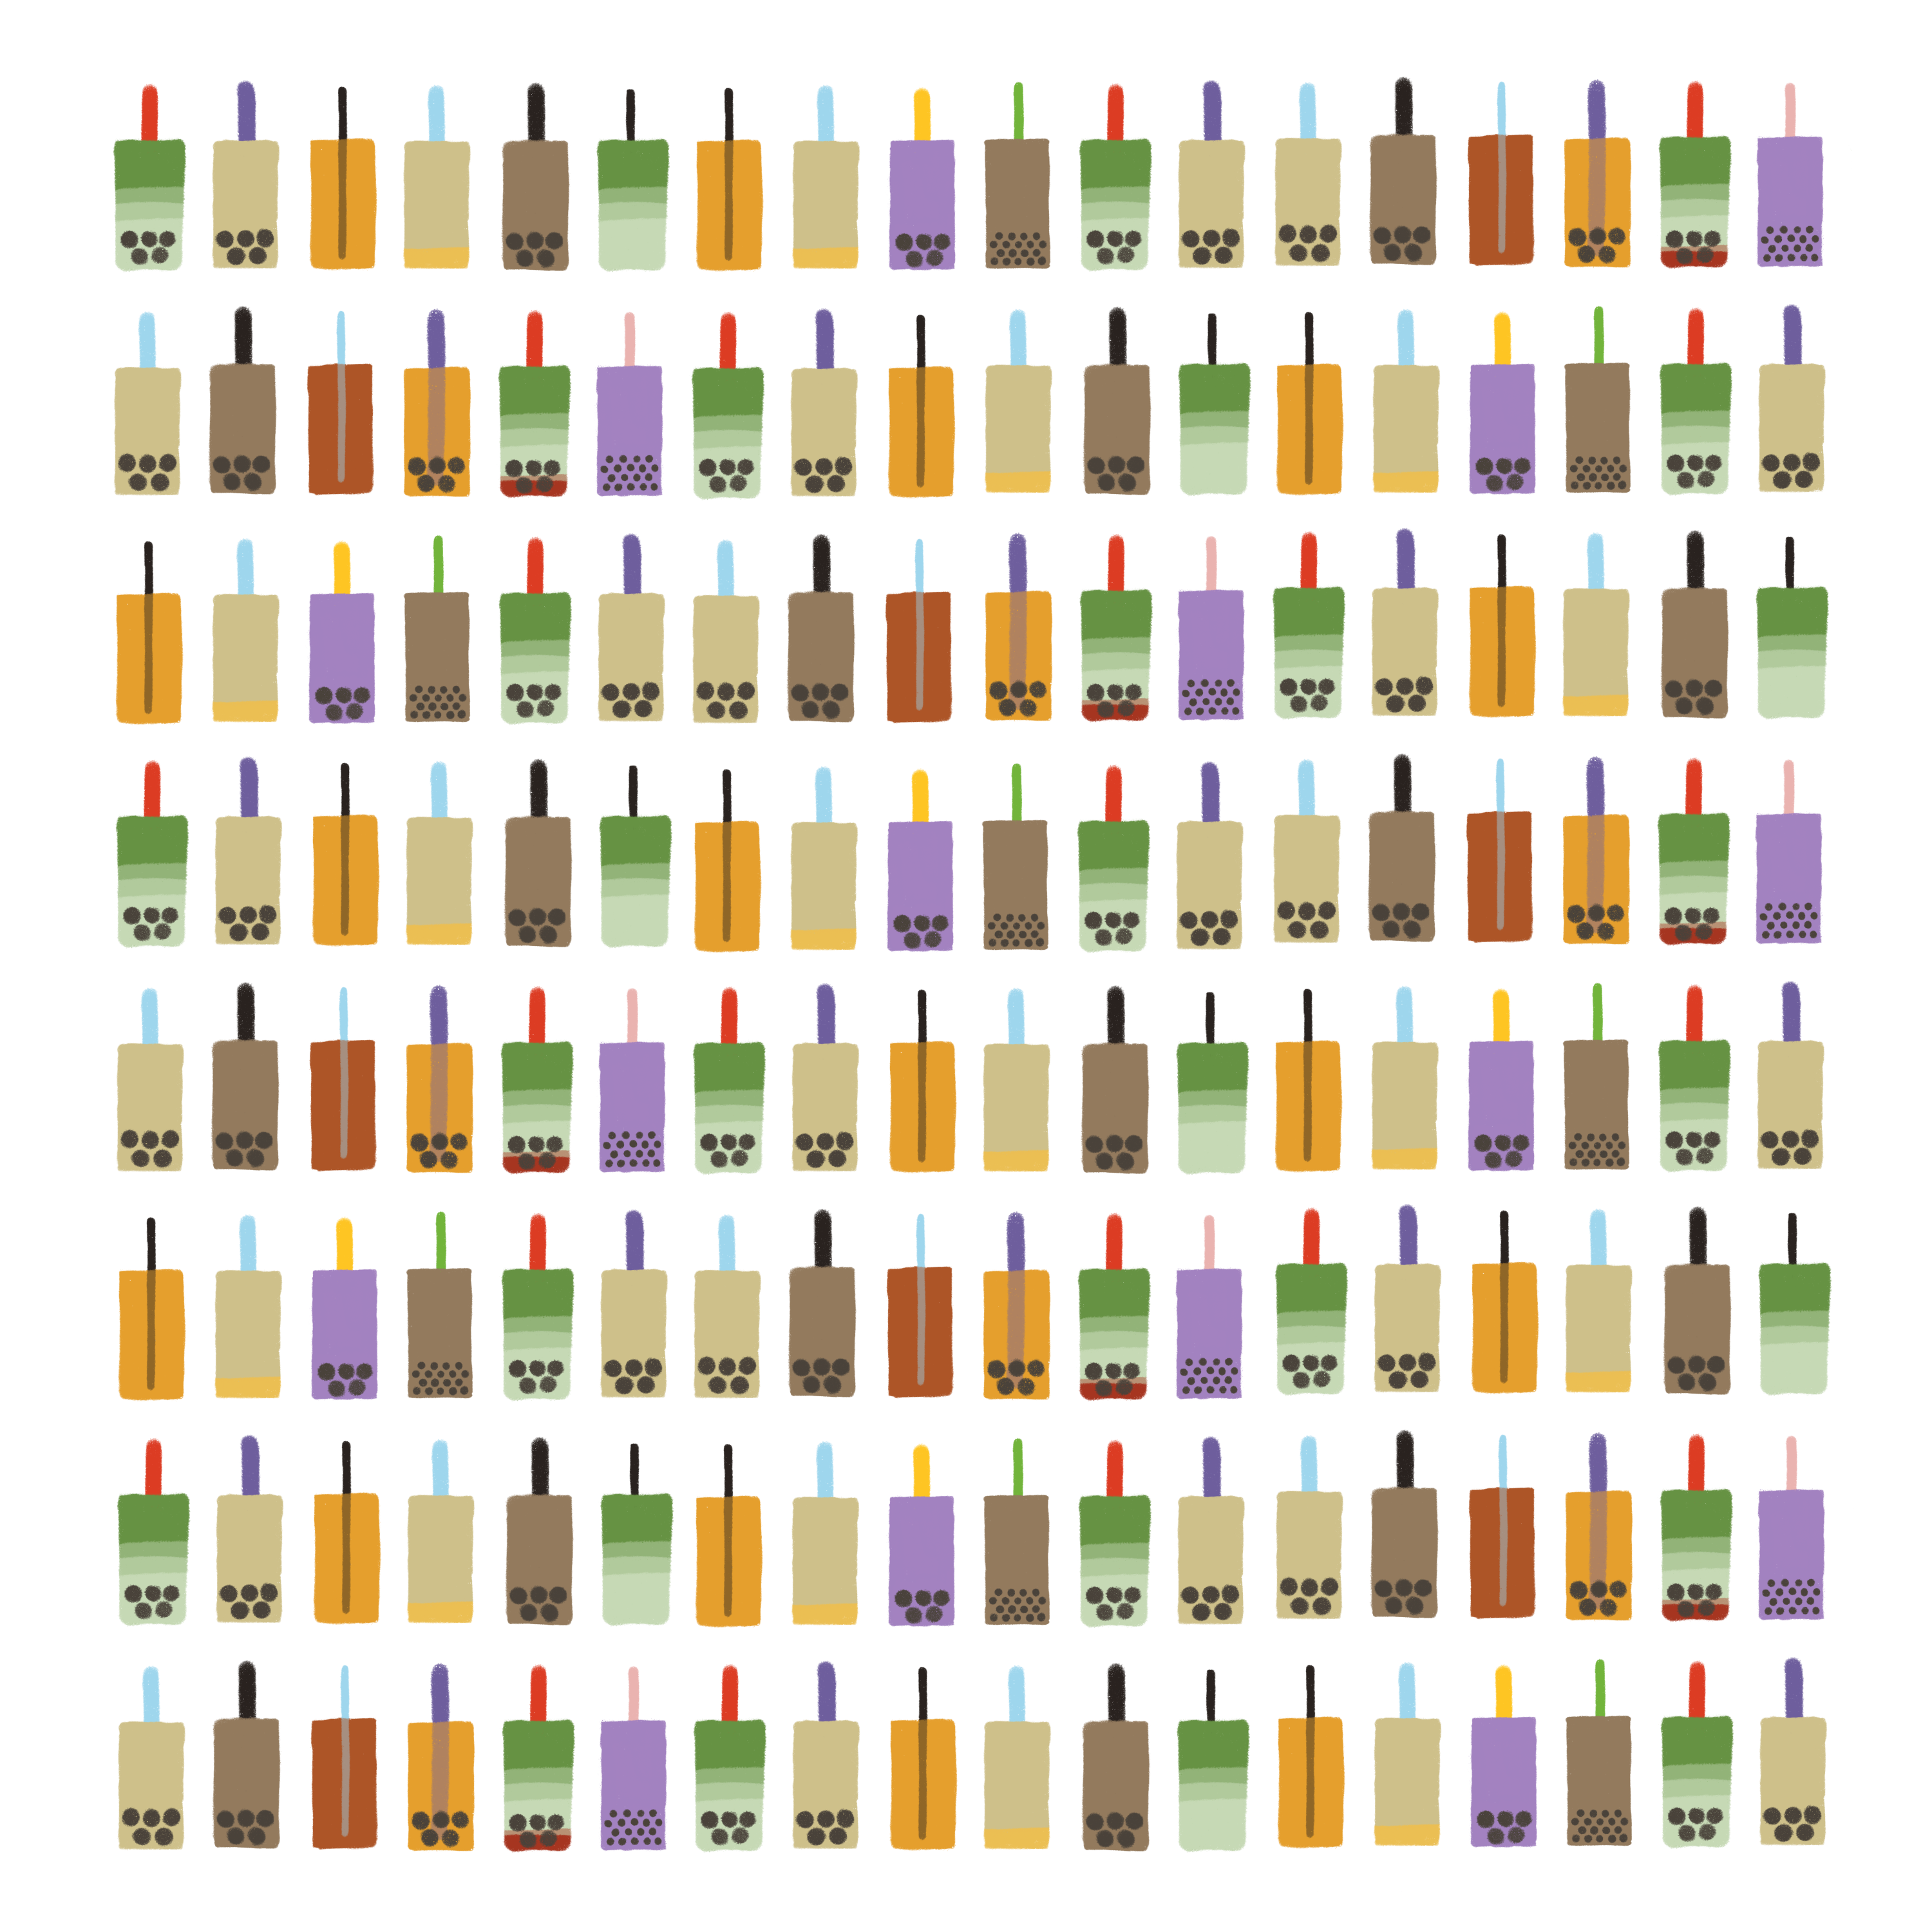
I am pretty happy with how it turned out! I think there's a lot more that can happen with this simple boba grid concept. I want to refine it into a pattern that can be printed on fabric and sew a boba dress! Also, just imagine, a screen printed t-shirt with your unique boba history. 😻
Next, we SVG
Well actually, next I opened up Sketch and recreated my previous boba sketch with vector shapes. The goal is to be able to procedurally create SVG shapes via JavaScript, so the SVGs needs to be neat to make SVG element creation easier later.


After getting the initial shapes down, I selected all my shapes, right clicked, smashed Copy SVG Code, ctrl+p'd into Sublime, and boom, I've got SVG code. Except... what I got out of it didn't look very nice at all.
boba.html:
There are a lot of SVG optimizers out there that I could have used to make this a little more friendly, but I figured I could just use this as a starting point and rewrite the SVG from scratch. Hand coding SVG is pretty similar to using Sketch. I focused on making all the values in point strings nice and being mindful about how I use transforms to place elements.


boba.html:
Note: SVG tags are self closing, which means that <circle ...></circle> can be written as <circle ... />.
Figuring out how to create the actual 'liquid' portion of the boba was interesting. I wanted to add an interesting 'wave' to the top of the liquid, but I also wanted to avoid hard coding both the liquid shape and the cup shape separately. Instead the liquid shape should rely directly on the cup shape. This future proofs against different cup shapes in the future. To do this, I want get the intersection of the cup and basic liquid shapes.
The basic liquid shape is created with an enclosed path. Paths allow you to draw multiple segments of curves. The segment is a quadratic bézier curve to create a wave on the surface of the liquid (shown in purple below). The rest of the segments are simple lines enclose the rest of the area.


Note: The shape is clipped before the same transformation is applied to the new shape, so make sure the two shapes are appropriately aligned before the transformation.
When the basic liquid shape and the cup shape are superimposed on top of each other, we get this nice tapered liquid in a cup shape. Simply create a clipPath with the one of the shapes nested under it and apply it as a clip-path attribute to the other shape. Since this just gets the intersection of the two shapes, which one is used as the clip path doesn't matter.
I initially tried to use masking instead of clipping, but ran into opacity troubles. I had a light brown fill on my mask shape, which was actually applying a opacity mask to the shape as well. It turns out masking is just clipping with opacity, and since I wasn't using the opacity feature, I opted to use clipping instead.
Then, we finally get to code
Now that I have created this SVG twice from scratch, it's time to do it yet another time!!! This time with JavaScript!!!
boba.html:
bobaMaker.js:
It's not great to have to explicitly set so many attributes over so many lines, but all of those attributes now has the potential to be ✨ dynamic ✨. I can now keep track of all my SVG elements and write callbacks to change any of their attributes.
The first thing I did after transferring my SVG HTML tags to JavaScipt was to create variables to keep track of information I was hard coding previously, like height, width, radius of pearls, etc. This way I can change the height of the cup, if need be, and not have to figure out where else I was using the cup height in some other element's transformation attributes.
I also tossed in a for loop to generate my pearls. This was actually a little tricky to do generically, since I wanted have a staggered effect for every other row of pearls.
bobaMaker.js:
Picking a good local zero (transformation reference point) is incredibly important here!
And voila. I now have a boba SVG that's ready to become dynamic.
References
- SVG Docs
- SVG Tutorial: Clipping and Masking, MDN web docs
Tagged With: illustration svg