Upcycling: Organza Curtain Dress Pt. I - Planning, Designing, Gathering, and Experimenting
Fri, Jul 06, 2018
Who is crazy enough to attempt to make a gown from scratch for a fancy party when they've never made any clothing before? I am! Let me tell you all about my insane decision and crazy sewing adventure.
The posts about this project will be separated into two (maybe three?) parts; the first about my initial research and plan, and the second (and maybe third) about what the project morphed into and the bulk of the construction.
I had a couple goals in mind when I started thinking about this project. First, I wanted to make a pretty dress that combined several elements I like on dresses I like. I've always found that whenever I run into a dress I like, there's always that one little something that I dislike about it, whether it be ruffles, sleeve length, a bow, or an unflattering neckline. (I suppose I am also quite picky...) Second, I wanted to keep this dress low budget since I truly splurged on the dress I wore to the Coco wrap party (Needle & Thread dresses are expensive, even on sale). Third, the dress had to be completed within five months. I decided to embark on this journey some time in early January 2018, and the event I wore the dress at was in early June 2018.
Side note: I really am blindly forging forward into the world of fabrics, fashion design, and dressmaking. Please excuse any incorrect and/or simplified terminology. I am always eager to learn more, so please let me know if you have any helpful information or corrections.
Having as little experience with fashion as I do, I had to do a lot of research. I looked at images of dresses and tried to figure out what I liked and disliked about them. I ended up liking the shape of many bridal dresses (yes, I do get a lot of wedding related ads) as well as tulle with embroidered florals. I created an album on Google Photos just for the purpose of keeping track of all the inspiration and it looks a little like this:
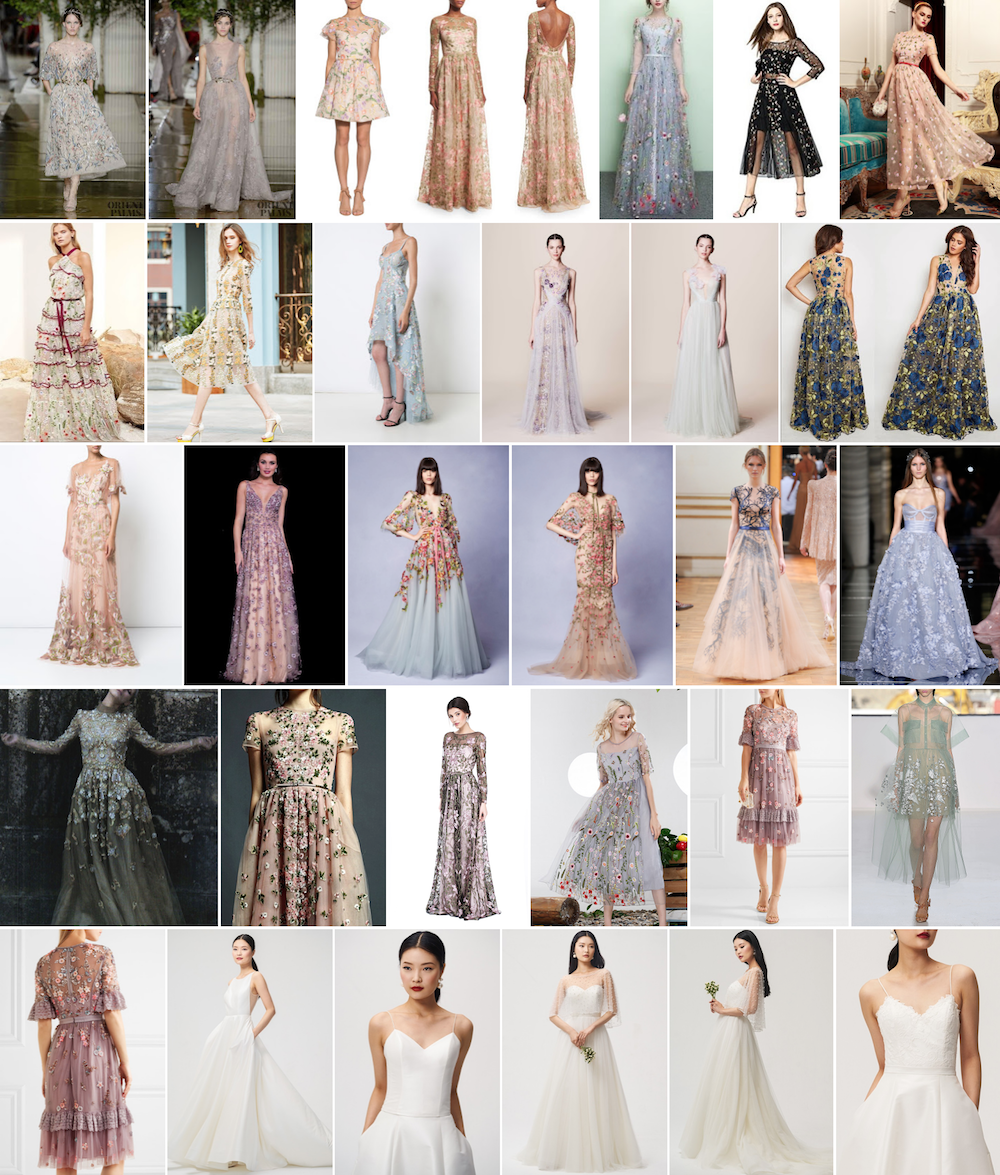
After gathering all these ideas and possiblities, I started sketching. As you can see from the reference photos, I was a big fan of embroidered and beaded tulle. At this stage, I realized that if I wanted to finish the dress on time, I would have to go as simple as possible. I figured that I could go with a simple but elegant design that would benefit from bedazzled tulle. Initially, I had all these ideas of fancy boned and structured bodices and delicate sheer fabrics with pretty little buttons on it, but after watching a couple YouTube videos, though, I decided that even the simplest bodice would be a challenge enough.
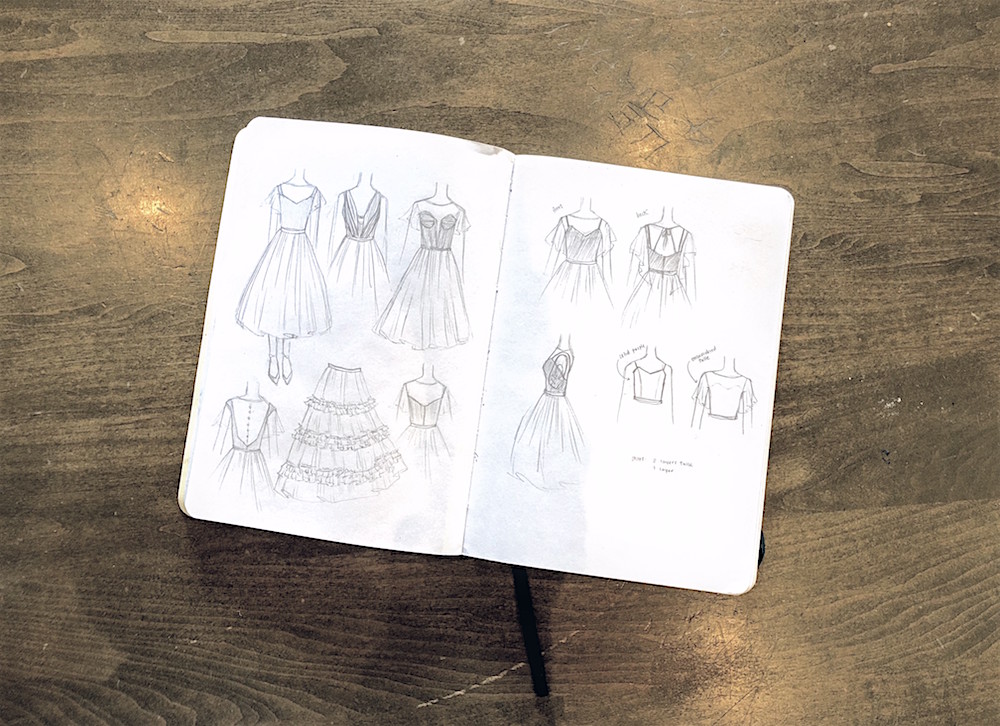
I settled on a basic fitted bodice with spaghetti straps with a flutter sleeved embroidered tulle overlay on top. The skirt would have lining of the same material and a layer of gathered embroidered tulle on top and a couple layers of gathered plain tulle between, for volume. Some haphazard calculations of approximate amount of tulle required later, I came up with a (very questionable) number of 25ft or just over 8 yards worth of tulle.
Purchasing Fabric
Now, if you've ever bought fabric before, you'd understand if I said that this is where I started to sweat. This stuff is not cheap! I've only ever bought cotton before, but they were all around $8-14/yd. I couldn't imagine tulle costing less than quilting cotton, especially embroidered tulle. Looking up embroidered tulle online confirmed my fears; they were all around $15-30/yd. If I needed even 5 yards of the cheapest fabric, the math would put me at $15 * 5yd = $75. This amount doesn't even include all the lining fabric and notions (zipper, hook and eye closures, etc.) I would still need.
I almost gave up then in favour of simply purchasing a dress. I didn't like the idea of spending over $100 on materials for a project that had a reasonable likelihood of failing (defined here as the product not looking nice enough for me to want to wear it to the fancy wrap party). However, I liked the idea of giving up even less, and if there's a reasonable likelihood of failing, there must also be a reasonable likelihood of success. I figured that I should, at the very least, go see the prices of fabrics in a local store for myself.
With crossed fingers, I headed over to my local fabric store, Discount Fabrics, in search of the approprite materials. (Thanks for the ride and company, Clint!) It's also worth noting that I also searched for fabric online (Etsy and Ebay) as I mentioned before, but the shipping time was too long and the prices weren't low enough for me to want to risk purchasing without seeing and touching the fabrics.
Going to stores that sell crafting materials always makes me feel giddy. Usually I like to walk around the entire store to see what catches my eye, but this time I was on a mission. I beelined for the tulle section of the store in search for the perfect embroidered tulle but came up empty handed. The closest fabric to what I was looking for I found was a dusty amber embroidered tulle. It was a beautiful fabric, but it was a staggering $35 a yard, even on sale.
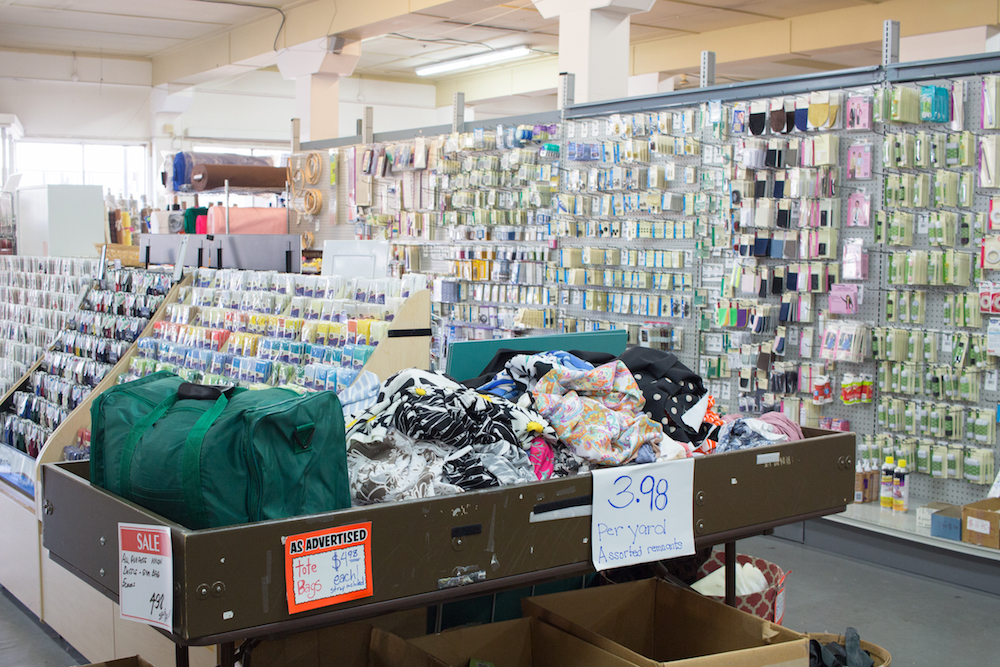
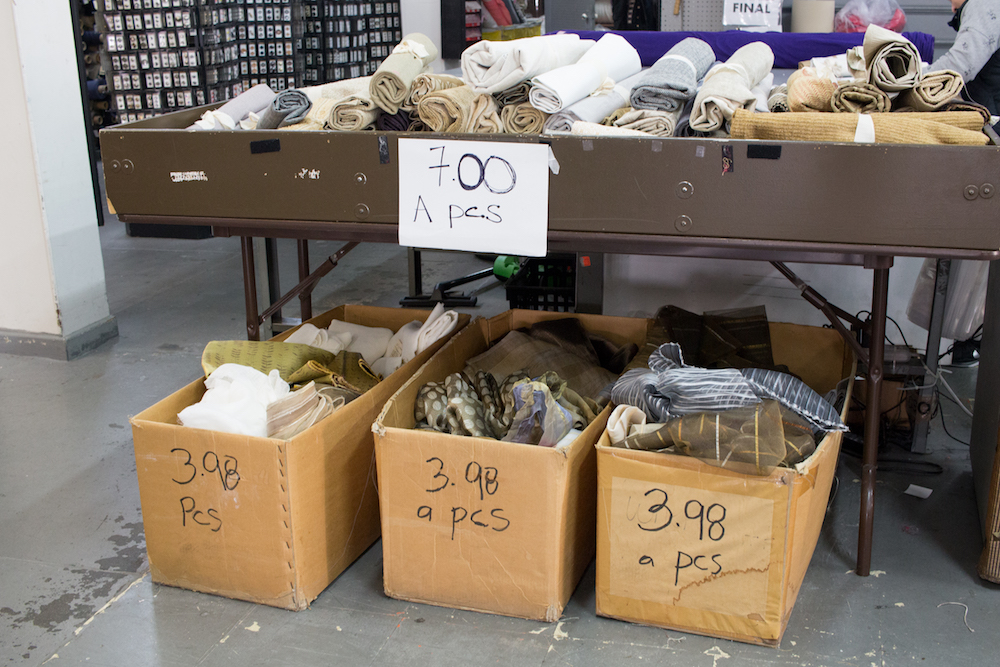
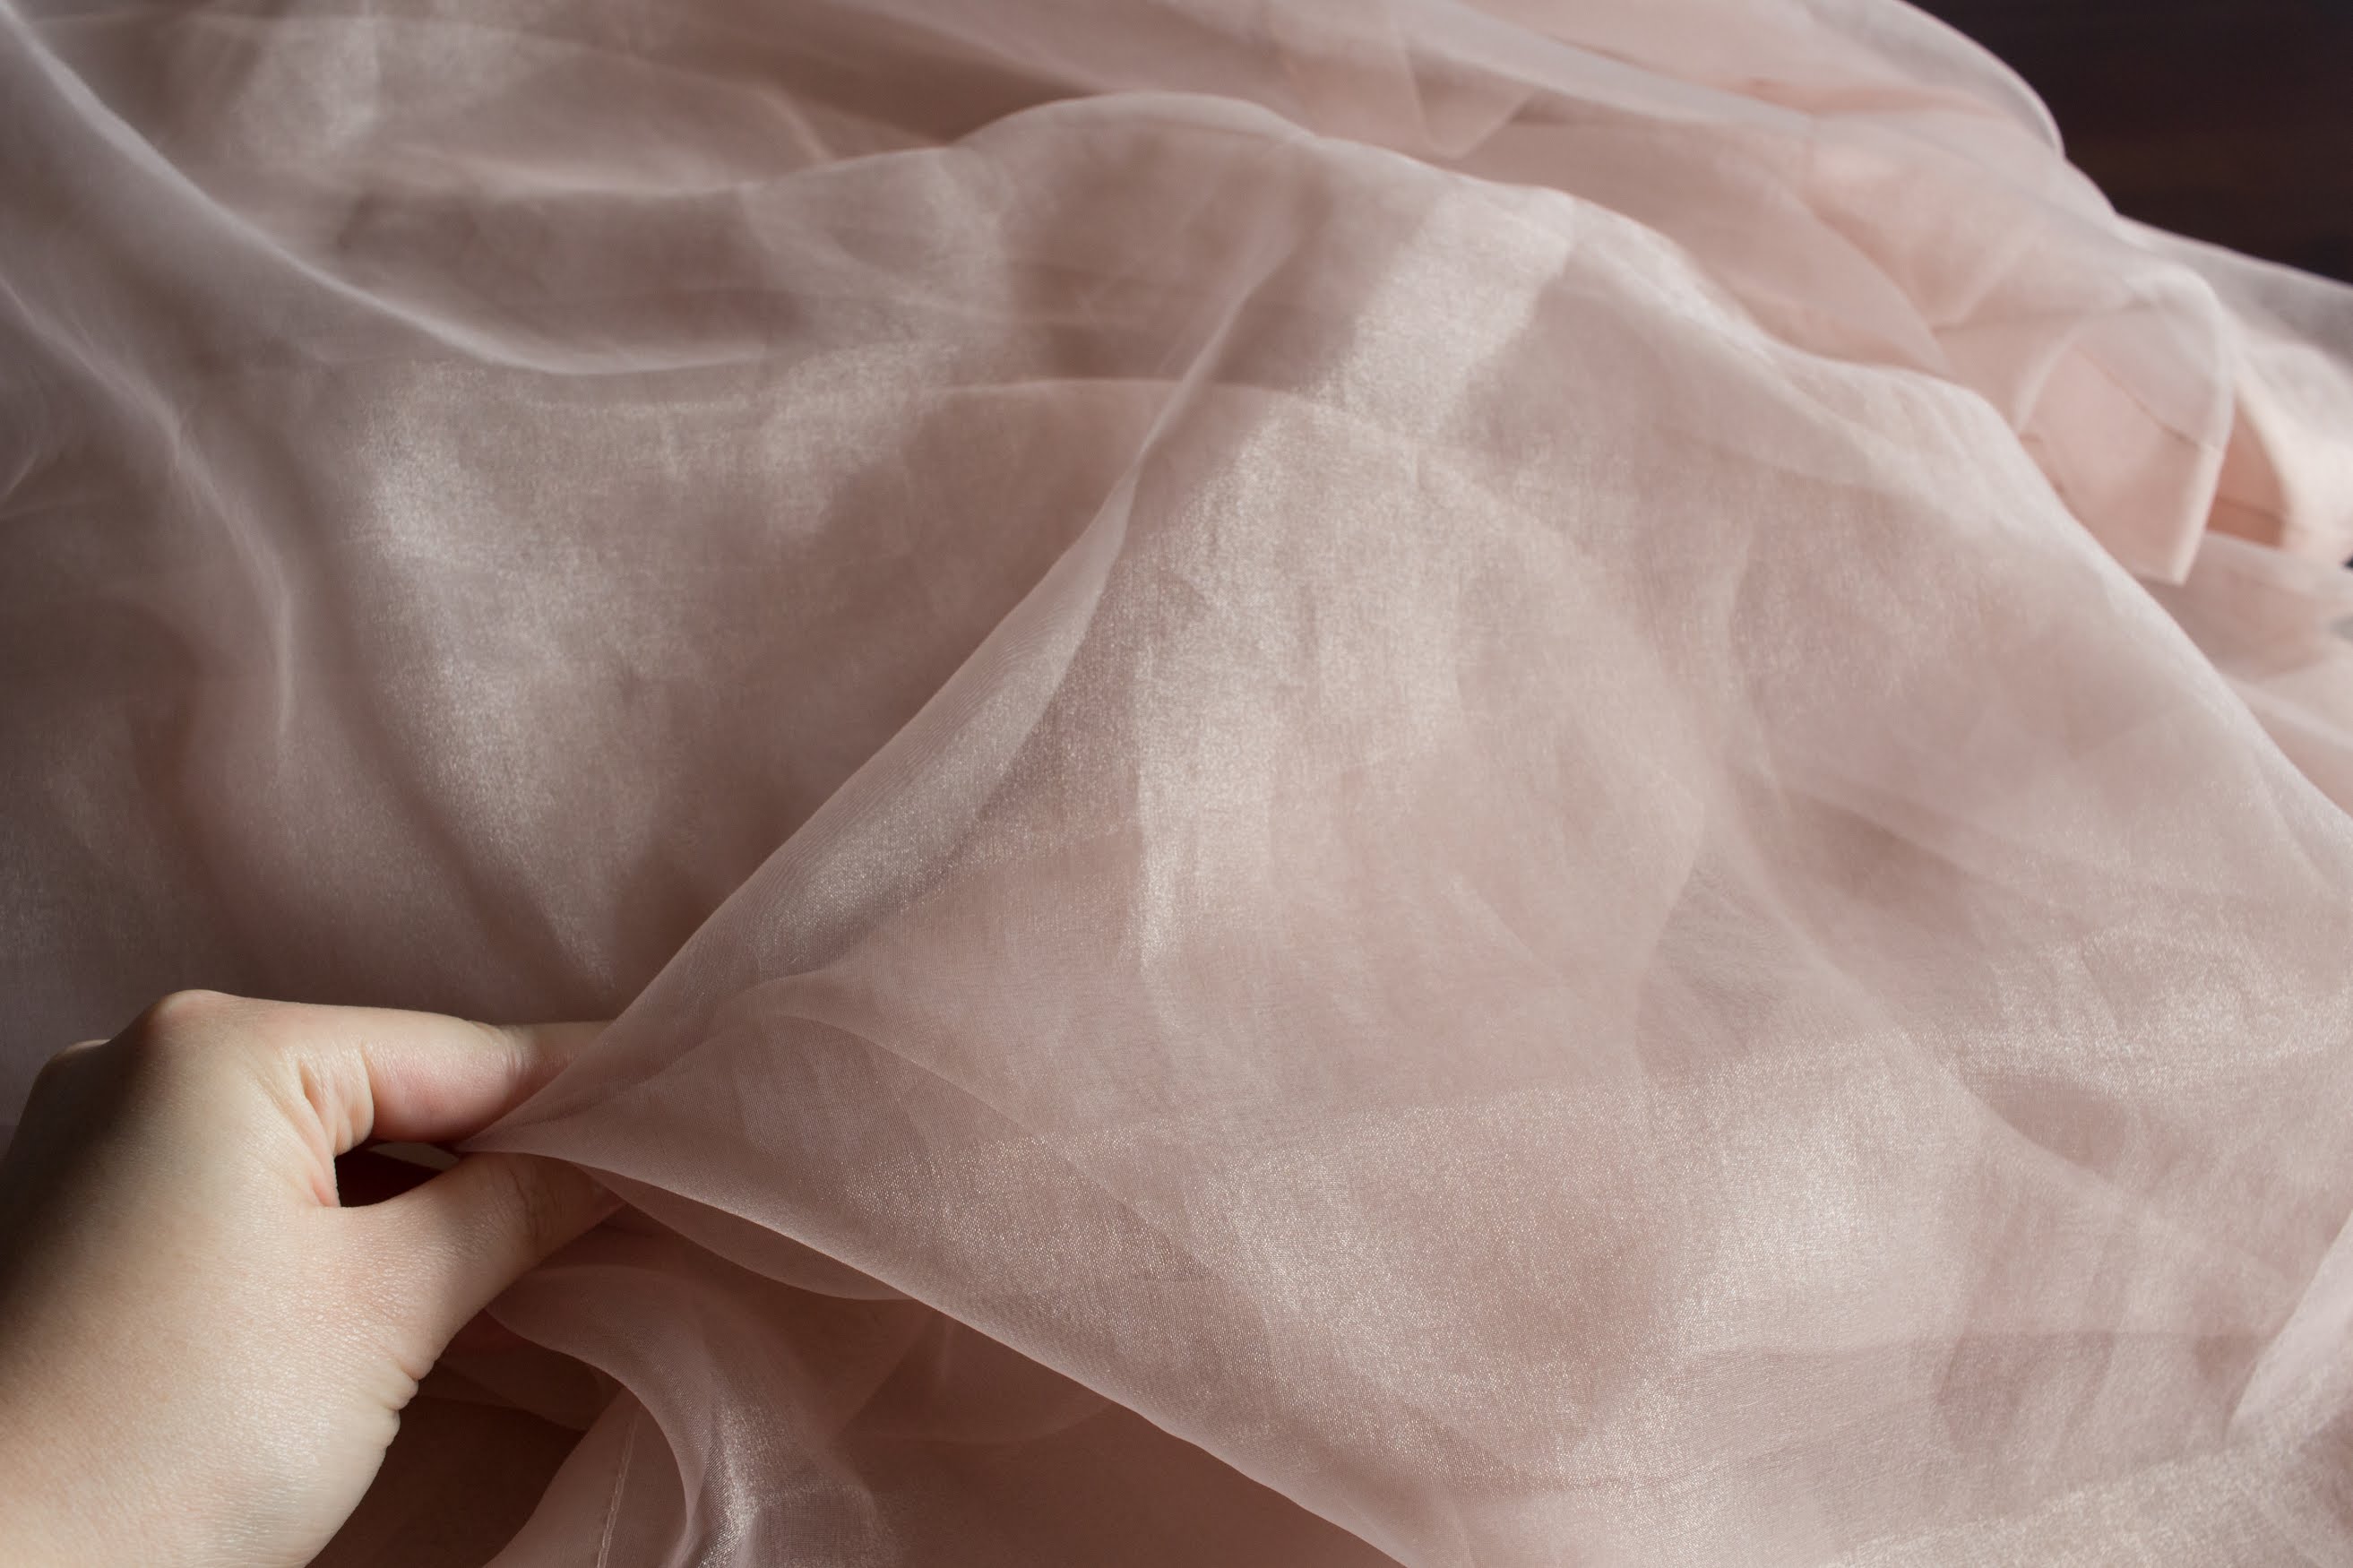
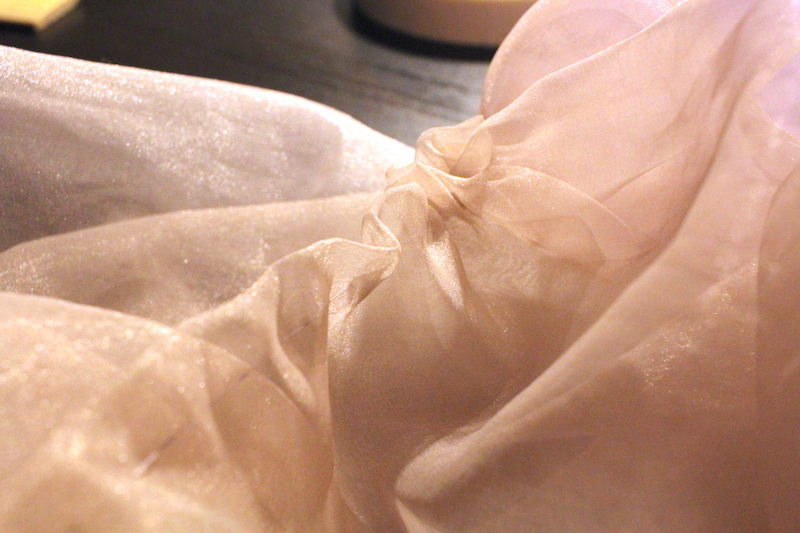
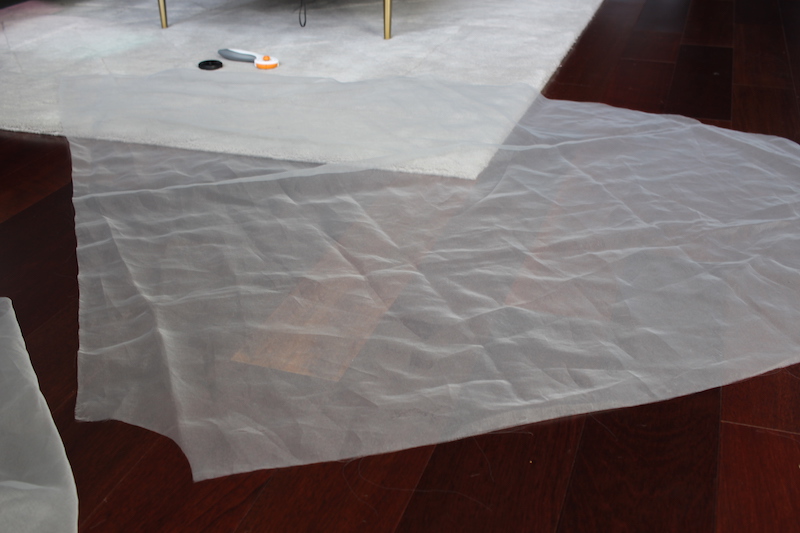
Just as I was about to leave the store in defeat, I spotted these boxes of old curtains under a display at the register. Although they were somewhat musty, there was a good selection of organza curtains. How incredibly lucky. In my opinion, finding the perfect thing to repurpose is even better than purchasing cheap fabric! I was particularly taken by the pink and dusty pink organza, and at $3.98 a piece, it was an easy purchase.
Organza and tulle look somewhat similar at first glance, but the former is a sheer and slippery fabric, while the latter is a very fine netting. What I didn't know at the time, was that organza is a lot more difficult to work with than tulle for a variety of reasons. More on this later when I complain about all the problems I run into... For now, just look at how pretty the fabric is!
As I alluded to earlier, each of the curtains were actually a different colour. This isn't surprising considering they used to be curtains. If you are looking to upcycle fabric, make sure what you're buying has enough to make your project, because it's unlikely you'll find another item with the same fabric. In my case, since all the organza curtains were shades of pink that looked good together, I would simply make a multi-coloured dress. With that in mind, I also purchased two dusty blue organza curtains, thinking they'd make a good accent colour next to the pink.
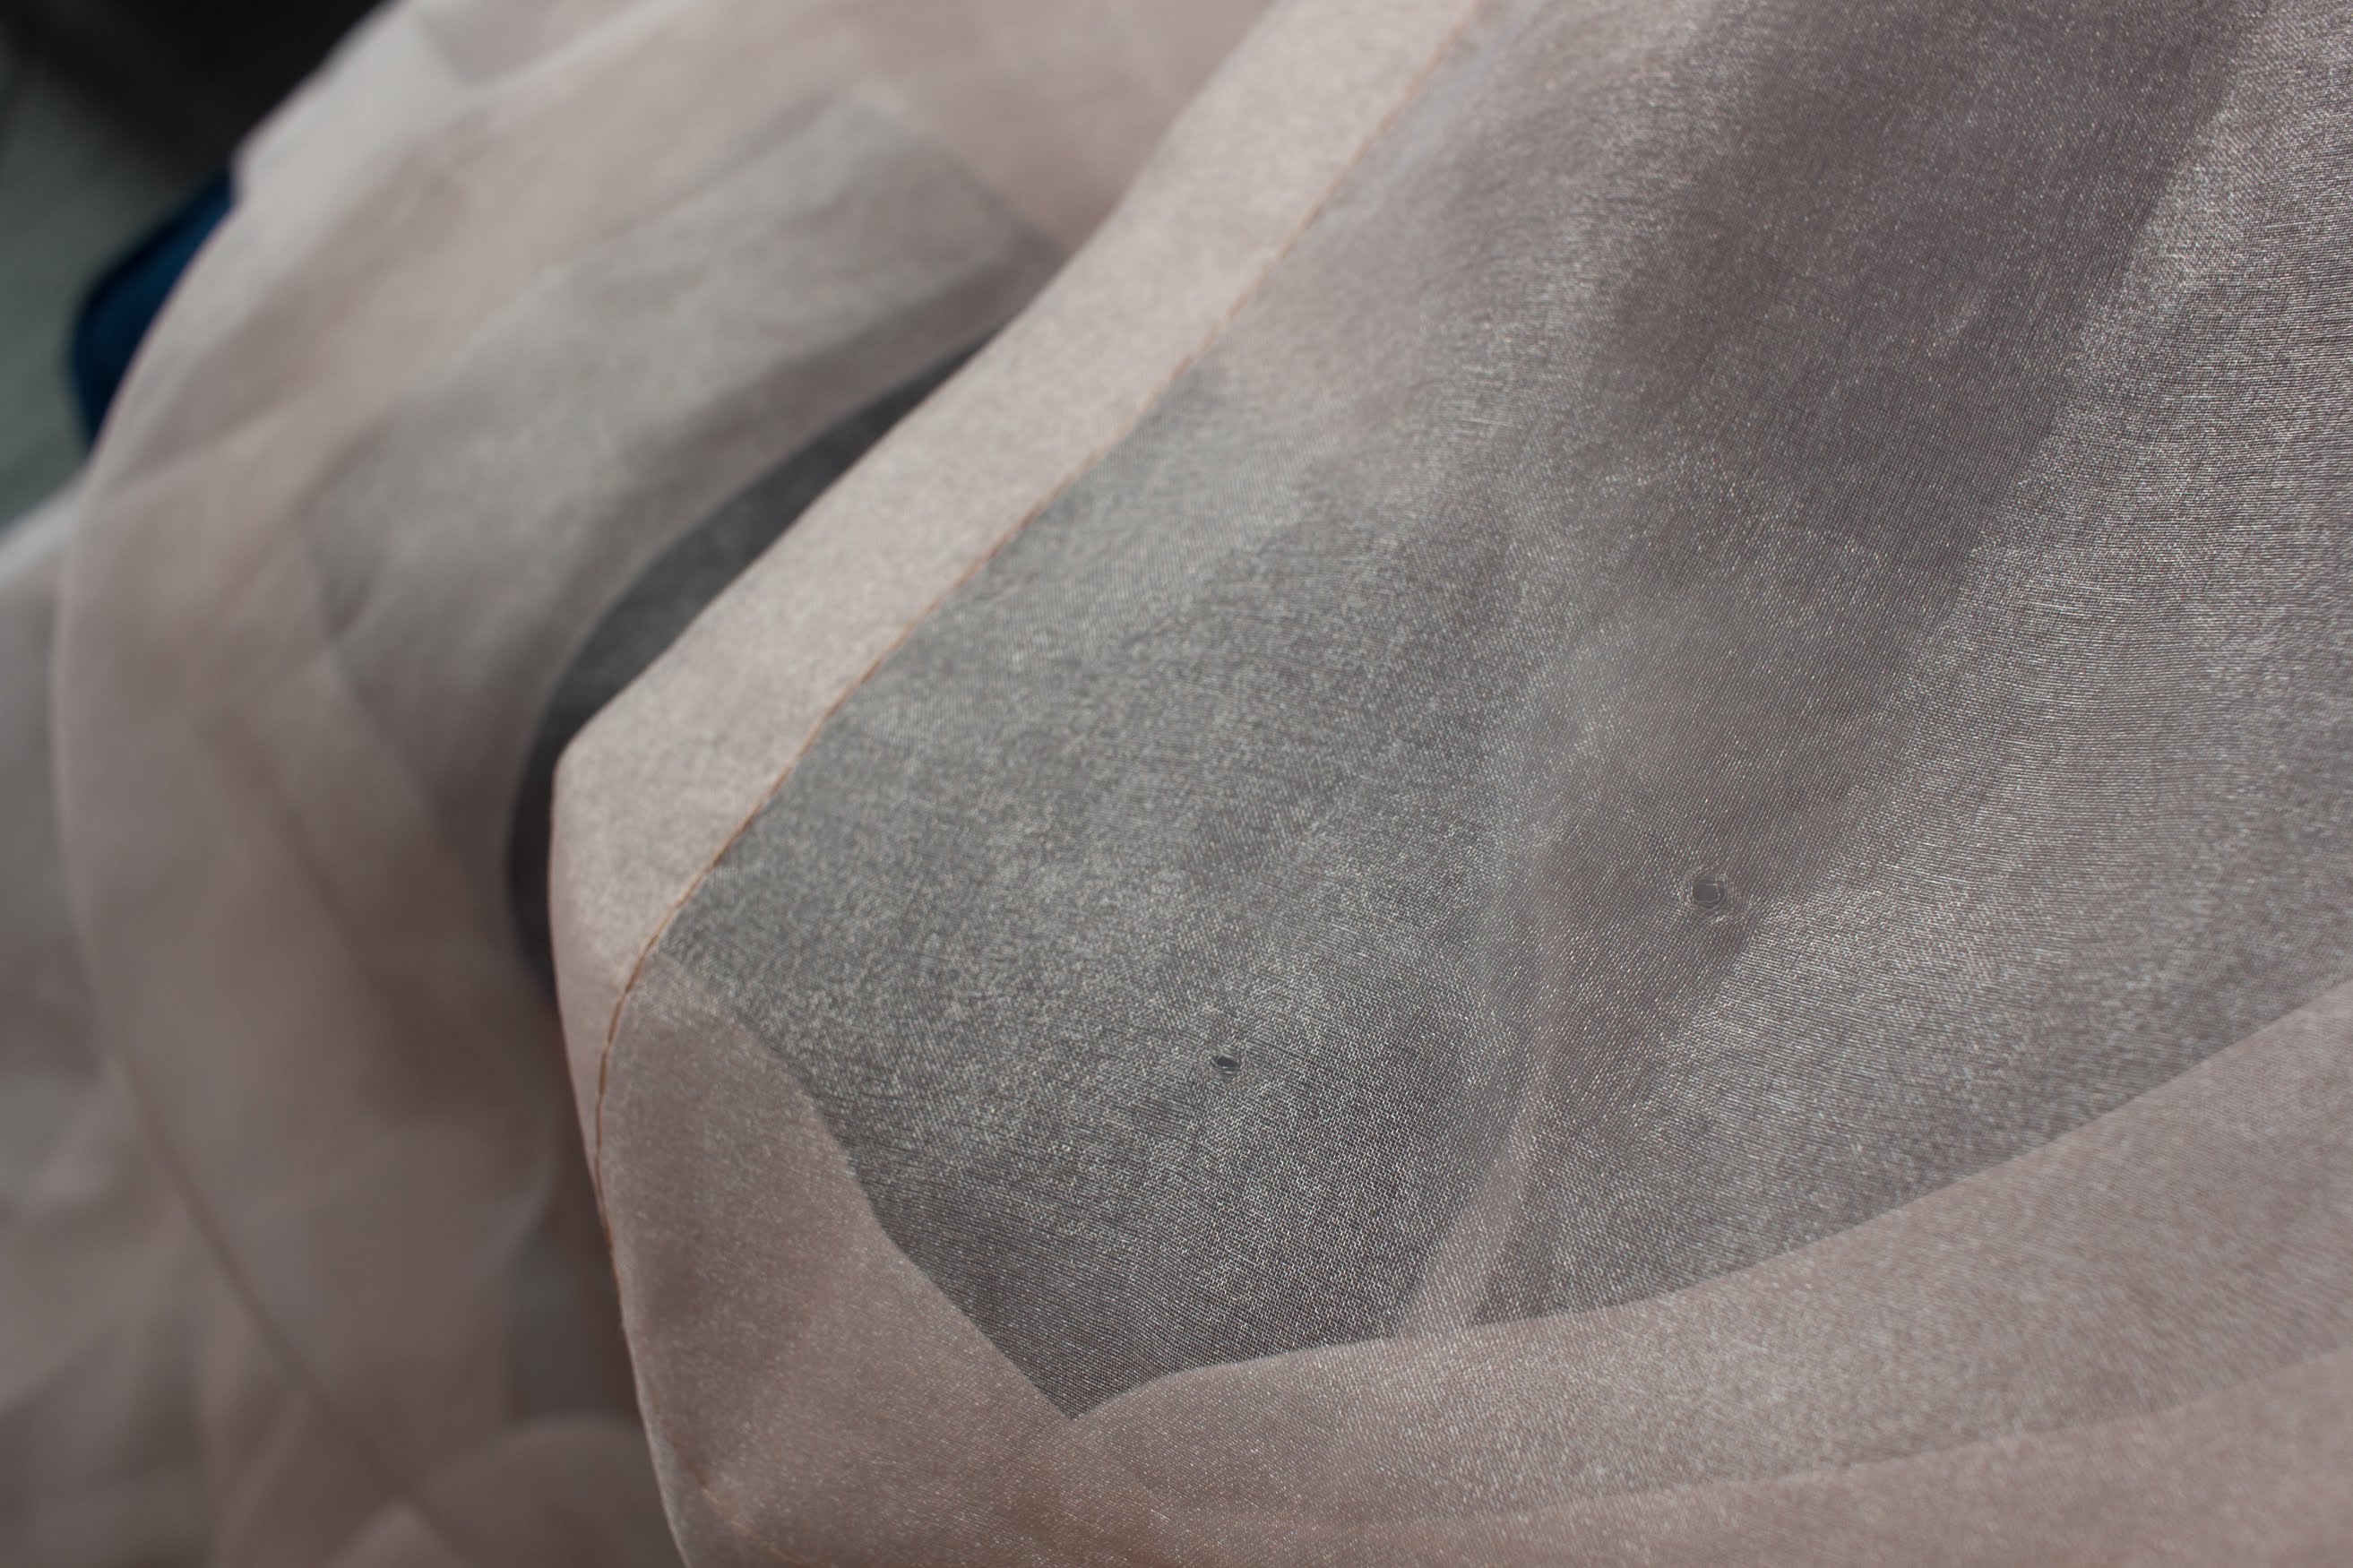
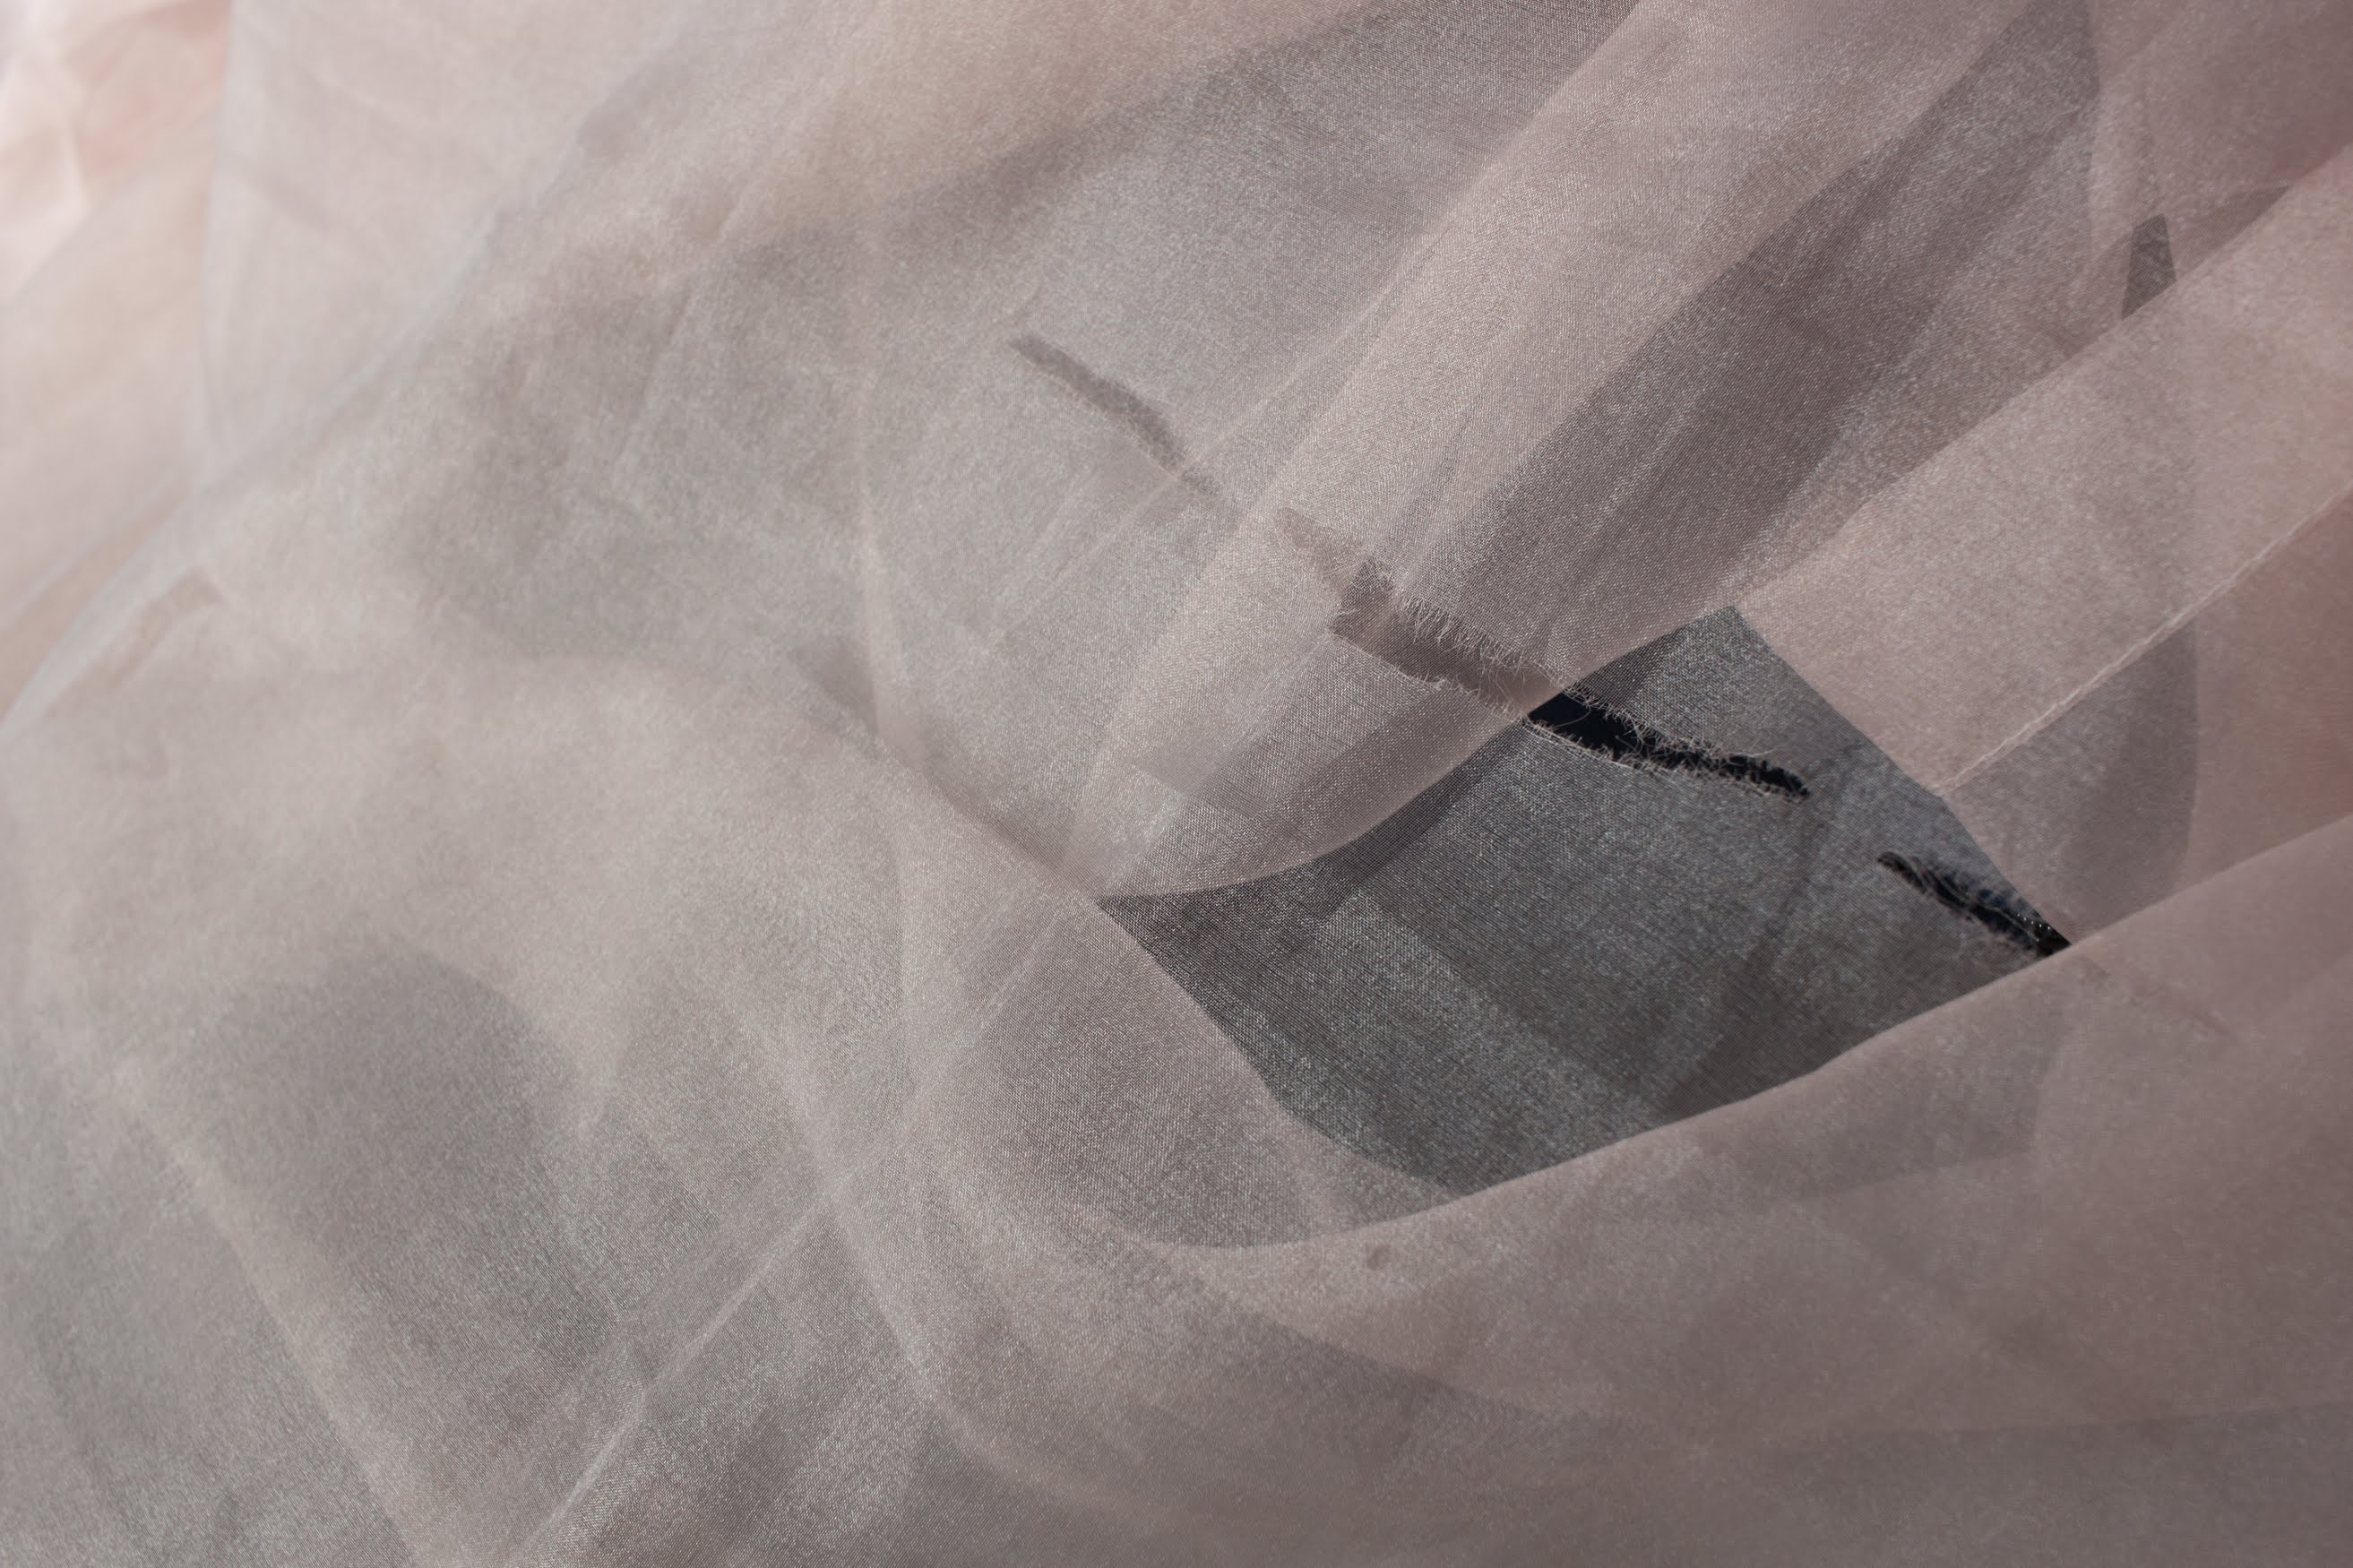
Unfortunately, there were some rips and holes in some of the curtains, but that's only to be expected in used materials. I can easily cut around the imperfections and have perfectly servicable fabric.
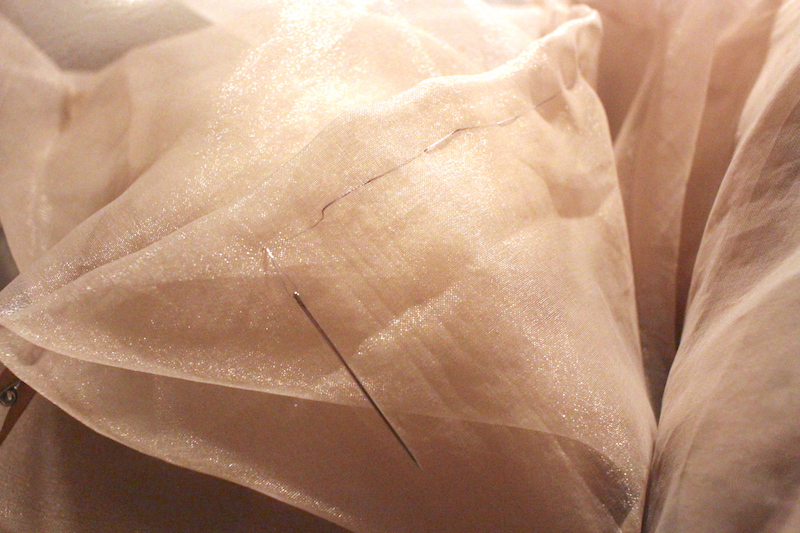
Since these were curtains, there were weights (rope wrapped around small by heavy pieces of metal) sewn into the bottom sides to prevent the light fabric from floating all over the place from the lightest breeze in its previous life. I was able to easily remove them by cutting the thread holding the weights in place with a seam ripper.
Researching the Skirt
A dress can be separated into two parts, the bodice (the part that covers your upper body) and the skirt. I decided to start with the skirt first, since the pattern (shapes that you would cut the fabric as before sewing) seemed simpler to me.
My wonderfully talented friend, Tina, explained to me that there are many different ways to create dresses, and that each would fall (i.e. the resting shape of the fabric in the assembled dress) a little differently, depending on how full I wanted to make it (i.e. how many layers I wanted to add to determine the amount of poof).
I set out to learn more about these different skirt shapes, and came across Skirting the Issue: How to Draft Skirt Patterns, which is an incredibly informative post. There is a lot of terminology and history explained in missa's post, which is all very interesting, but I will boil it down to the absolute basics relevant to me in that moment.
There are two factors that attribute to the basic shape of a skirt: how much the skirt is gathered at the waist, and the ratio of the the skirt's length around the waist (before gathering) to the length around the bottom. The amount of gathering affects how the folds will look at the waist, and the length ratio of the top to bottom affects how full the rest of the skirt will be.
The two most basic skirt patterns are the rectangle skirt and the circle skirt. In reality, rectangle and circle skirts are just two ends of the skirt shape spectrum. You can make a half circle skirt, a three quarter circle skirt. or even a double circle skirt, depending on how much flare you want your skirt to have. Both types of skirt can be gathered (pleats are a type of gather) at the waist. (I'll have a description, instructions, and photos of my skirts gather in the next post.) The more 'circle' you have, the more flare the skirt will have at the bottom. The more 'gather' you have, the more poof the skirt will have at the waist.

As you can see from the diagram above, a rectangle skirt is made of rectangles and a circle skirt is made of of cones that, when assembled, is a large circle. (Oh, I just love it when the names of things make sense!) This makes a rectangle skirt much easier to make than a circle skirt, since rectangles are much easier to cut than cones or circles, and curtains are already rectangles! I basically already have a precut skirt that only needs to be gathered. This is great because it does not require any cutting of the fabric that I have, and gathering can easily be undone and so the testing fabric can be reused.
It's very important to test to see what the resulting skirt will look like. Different fabrics react differently to different methods. Since I was unable to find nice examples of either of the skirts made with organza, I decided to experiment in order to find the pattern that would give the shape of skirt I desire.
Rectangle Skirt Test
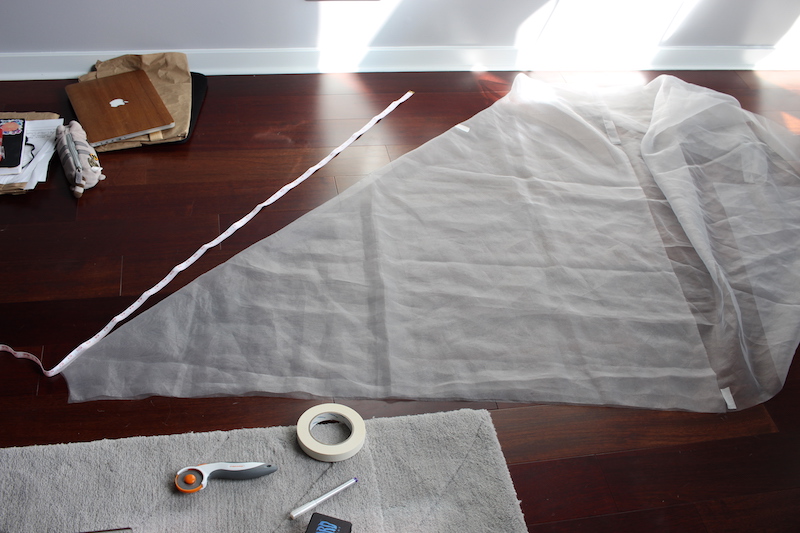
My rectangle skirt test was done by folding one curtain such that the longer half was the desired length of the skirt and then hand gathering along the fold to fit my waist. This simulates two layers of organza as the skirt (even though the 'inner layer' is a shorter than desired, I can still get the idea of the shape of the skirt).

Unfortunately, my organza was too stiff for this technique. As you can see, there was far too much bunching around the waist, which is unflattering and makes my waist and hips look much wider than they really are. Disappointing, but now I have a much better idea of what to try next.
Circle Skirt Test
Next, I tried to make a circle skirt. This required a lot more work. First, I had to figure out how large/long I wanted the inner circle (i.e. waist) to be. If I didn't want any gather at the waist, I would simply use the length of the circumference of my waist as the circumference of the inner circle.
Here is where some of the steps I took next were... unconventional. Since I did not know how much gather I wanted, I simply added some arbitrary number of inches (around 6"?) to my waist size. I figured that if it didn't look gathered enough, I would be able to either cut off more of the inner circle or just keep attaching pieces and make it a 1.x (x here also being some arbitrary number...) circle skirt.
At first, I tried to cut out my pieces of fabric by measuring with a tape and marking where to cut with a fabric marker. The method is well described in this Circle Skirt Tutorial by The Littlest Studio. They even have a really nice circle skirt waist template that I printed out and used.
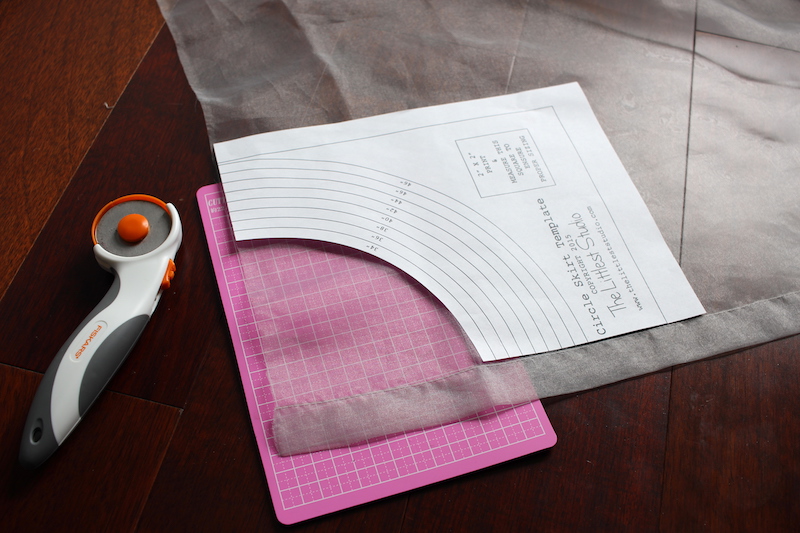
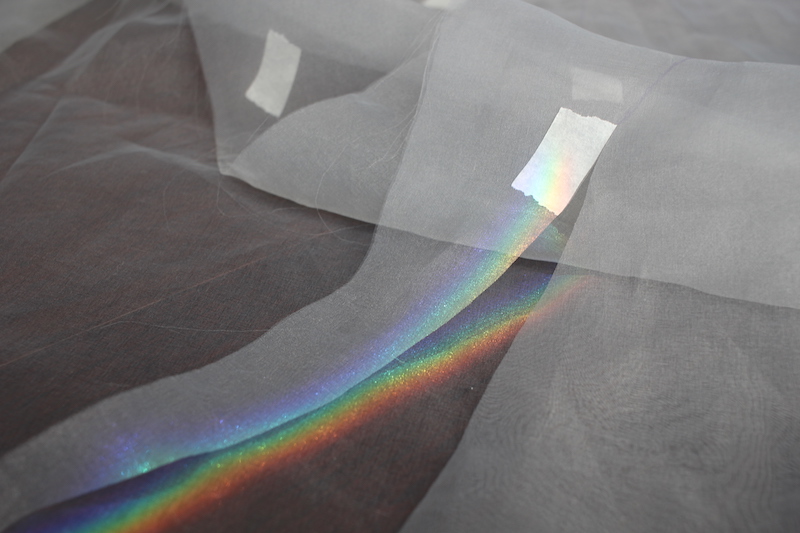
While this method is good for heavier fabrics like cotton, it did not work very well for organza at all. There were so many issues. The most frustrating was that the organza would shift and stretch as I worked. I tried weighing down the fabric before measuring and cutting, but it was not very effective. I tried using masking tape instead of fabric marker to mark where to cut when the fabric ink wouldn't show, but even carefully pulling off the tape after frayed the organza terribly.
While it look alright after the shape was cut out, it took too long for the method to be feasible going forward. Measuring and cutting out that one piece of fabric took upwards of four hours. I estimated that I would need to cut out maybe 8-12 of these pieces in order to have two layers of skirt. I was on a time crunch, I needed another way. (At this point, it was already April.)
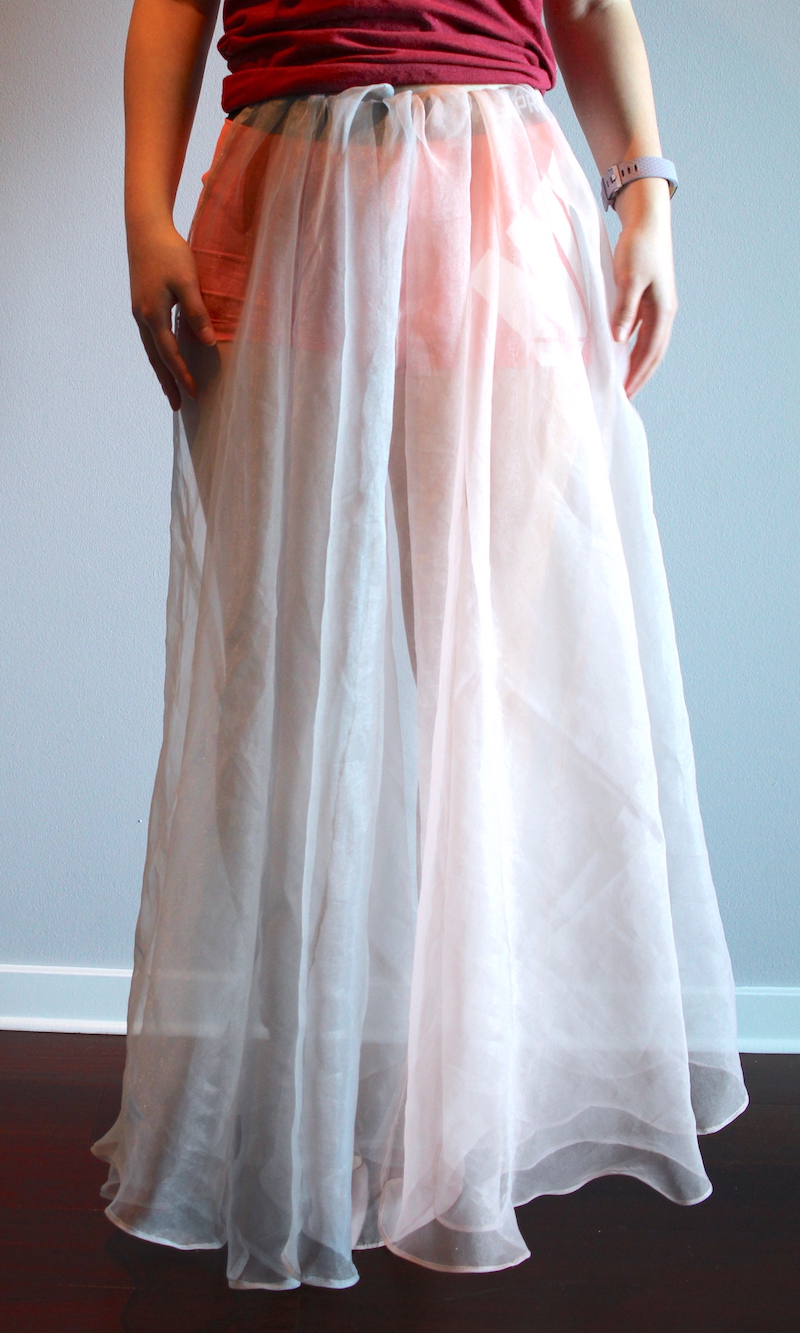
That was a problem for later, though. First I had to make sure that this circle skirt looked good. I went ahead and used the same method to cut out another piece of fabric and used safety pins to temporarily connect them together. Since I had no plans on how to make a waistband for the skirt yet, I simply throw on a pair of training shorts, tucked the fabric into the waistband, and carefully arranged the fabric to make it look like it was gathered.
The circle skirt looked much better than the rectangle skirt. As you can see, there is much less fabric volume at the waist than at the bottom. I spun around a little, and the skirt flowed rather than just staying stiffly in position. I'm very happy with the result!
Note: I did hem the bottom of the edges in the circle skirt photo, but if you're only testing, you shouldn't have to go to the trouble as long as you treat the fabric carefully so the edges don't fray. I'll talk about hemming in the next post.
At this point, I finally knew how to start creating the skirt portion of the dress. (There was still the lining and attaching everything together to experiment with.) That also means I had an idea about how long it might take... which was much more time than I had left. At this point I had to cut my losses and accept that maybe I would not have enough time to finish an entire dress. I had to focus on figuring out and finishing the skirt, and instead purchase a top that would match the skirt. It was a truly disheartening realization, but it's better to have a finished skirt to wear than nothing at all!
And that concludes part one of making this dress/skirt. Tune in next time to see me stumble further into the dress-making world.